Is it possible to make your polymer clay creations even more interesting? I personally believe that yes, it is possible. And I think that image transfer onto clay could be the key to add even more interest to polymer clay designs.
And yes you can use image transfer in conjunction with most of the techniques that you are already using to decorate polymer clay!
And because I am such a big proponent of image transfer onto polymer clay (I started my creative journey many, many years ago by trying my hand at decoupage and ended up gluing napkins literally all over my house and on every box I found, but that’s another story:), here are my best pieces of advice for image transfer onto clay:
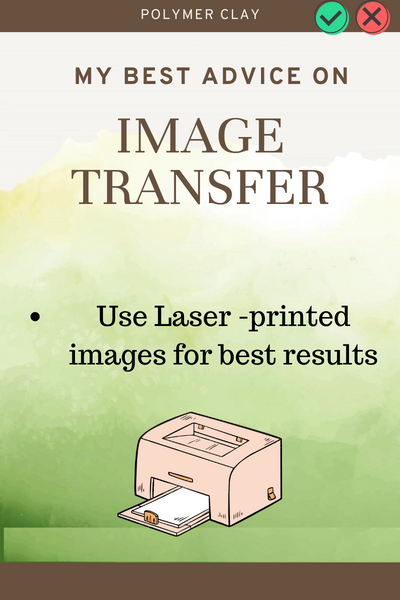
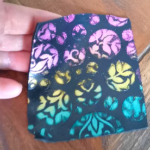
1.Use Laser-printed Images: I recommend using Laser-printed images for best results.
🌟 Laser-printed images work great with polymer clay. Unlike other printing methods, laser printing produces high-resolution images with sharp details, ensuring that every nuance of your design is captured flawlessly on the clay surface. The laser’s precision translates into cleaner transfers, sharper edges, and a level of detail that elevates your artwork to a whole new dimension. Say goodbye to blurry transfers!
Furthermore, I found in my experience that inkjet images are not compatible with polymer clay. Because clay is not permeable, the ink would not really set into the clay or dry and it will end up in a smudged design. There are however ways to use inkjet images with liquid clay for image transfer, but you’ll have to bake the clay pieces and this limits the possibilities you would have when using raw clay.
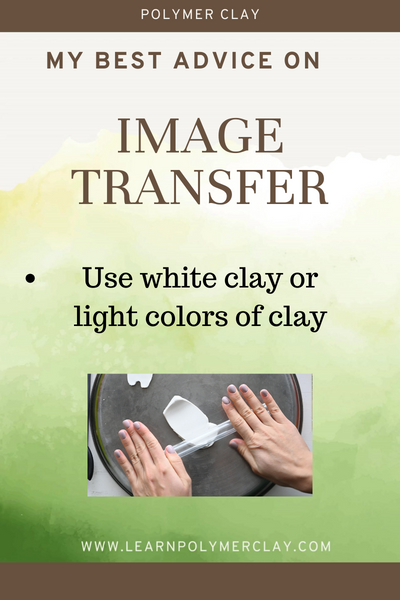
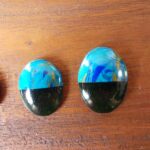
2. Color Matters: Choose white clay or light colors of polymer clay to enhance your transferred images
🎨 Just like in decoupage or other image transfer crafts, the best thing to do is to work with white or light color backgrounds. Thus the colors will pop vibrantly and the intricate details remain visible. I know that working with white clay can be daunting because it’s not easy-peasy to keep your clay clean so I encourage you to read my best advice on working with white clay in this Guide that I prepared for you!
3. Ditch Water, Embrace Rubbing Alcohol: Say goodbye to water and hello to rubbing alcohol for a smoother, more effective transfer process.
💦 After years and years of using water as a transfer medium (I have lots of tutorials on my Youtube channel in support of my statement), I’m saying farewell to the challenges of water-based transfers!
I cut my finger with the blade (a minor cut, already healed, don’t worry), while working on water image transfers and that when I remembered that I used sometime in the past rubbing alcohol for image transfer onto canvas, I think. Or wooden boxes. Maybe.
And I decided to give it a try. And it worked great. With just a little bit of rubbing on top of the image.
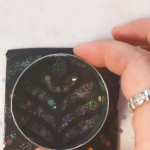
So I applied rubbing alcohol on top of the white clay. I pressed the image onto the clay, facing downwards. I rubbed gently just a little bit the image into the clay and I used a Q-tip soaked with rubbing alcohol to transfer the images by passing the tip of it all over the image. Then you’ll just have to lift off the image. I used tweezers in some areas or water for the parts that were hard to take off.
And it worked like a charm. Unlike water, alcohol dries quickly, minimizing the risk of smudging your images during the transfer process.
Its solvent properties ensure a seamless bond between the image and the clay surface, resulting in smoother, crisper transfers.
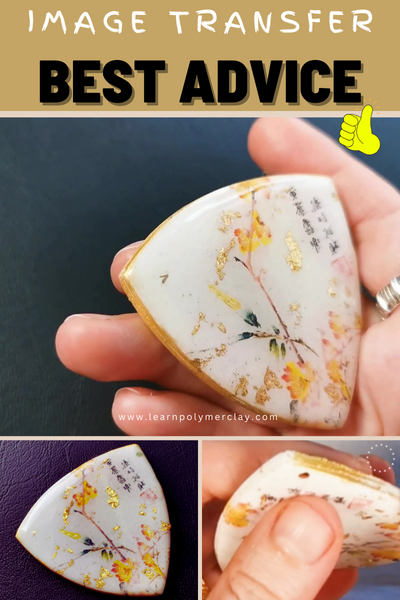
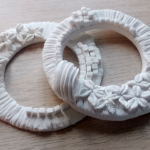
4. Gilded Elegance: Use imitation gold to add a touch of luxury and interest to your creations.
✨ I personally love imitation gilding leaf. It’s also called imitation gold leaf. And it works great with polymer clay. I really think it adds sophistication and richness to clay creations. Whether applied sparingly for subtle accents or generously for a bold statement, imitation gold leaf introduces a timeless elegance that turns your polymer clay pieces into wearable works of art.
Of course, there are lots of colors of metal leaf. You’ll find silver, abalone , copper, purple, green, pink metal leaf and you’ll have plenty of things to explore on the subject;)
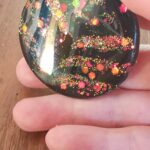
5. Ink it Up: Spice up your designs with splashes of alcohol ink, bringing a burst of color and uniqueness to your polymer clay pieces.
🌈 Add a splash of creativity to your polymer clay creations by adding splash of colored alcohol inks on the white clay that you used for the base. These versatile inks not only infuse your designs with bold, expressive colors but also create mesmerizing patterns and textures.
Explore the art of controlled chaos as you apply alcohol inks to your clay, creating unique and unpredictable effects that make each piece one-of-a-kind.
Who doesn’t like to play with inks and colors? I personally love to do it!
6. Tent your pieces, while baking, to protect them from direct heat and from yellowing
I know you can’t wait to wear your beautiful designs or put them up for sale on Etsy, but before that, you’ll just have to bake them properly.
And if you don’t want your beautiful designs to suddenly turn yellowish or brown from direct, strong heat, you’d better tent your pieces while baking them.
I use an aluminum disposable pan to do so, but you can use a cardboard that you fold in the middle and put it in the shape of a tent on top of your pieces.
7. Seal the Deal: Seal and protect your transferred images with a layer of varnish or UV resin for a professional finish that lasts.
🛡️ You’re almost done. You still need to seal your image transfers for longevity and brilliance (in case you use resin or glossy varnish). This is a very important step. So keep in mind that applying a protective layer of varnish or UV resin over your polymer clay creations is what’s gonna protect the transferred image during intensive wear.
This not only enhances the vibrancy of the colors but also provides a durable shield against wear and tear. The clear, glossy finish adds a polished and professional touch to your pieces, making them resistant to scratches and environmental factors.
Here are my best pieces of advice for Image transfer onto polymer clay. It’s always such a joy to share my love for clay with like-minded people.
If you found these tips helpful, subscribe for more clay inspiration, and share this with your fellow clay enthusiasts. Let’s spread the joy of creating beautiful polymer clay creations!
And here’s the link to download your copy of the Ultimate Guide to Polymer clay!